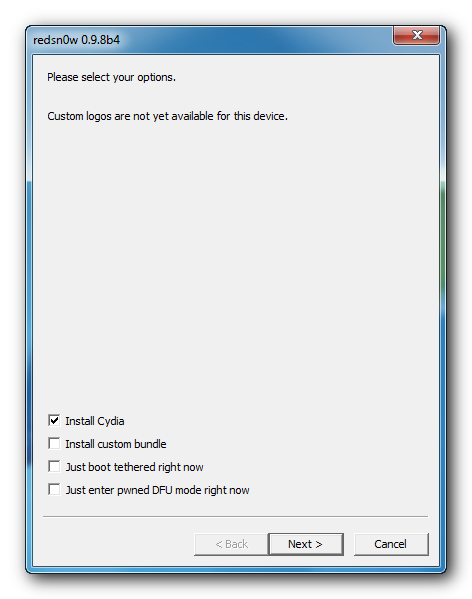
Step One
Download the latest version of Absinthe from here.
Step Two
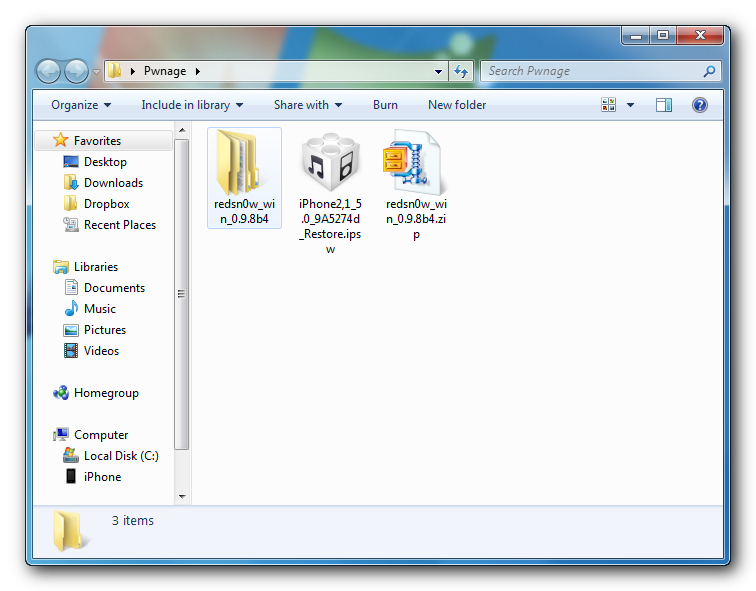
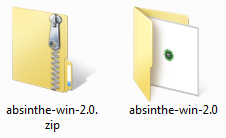
Extract the downloaded archive.

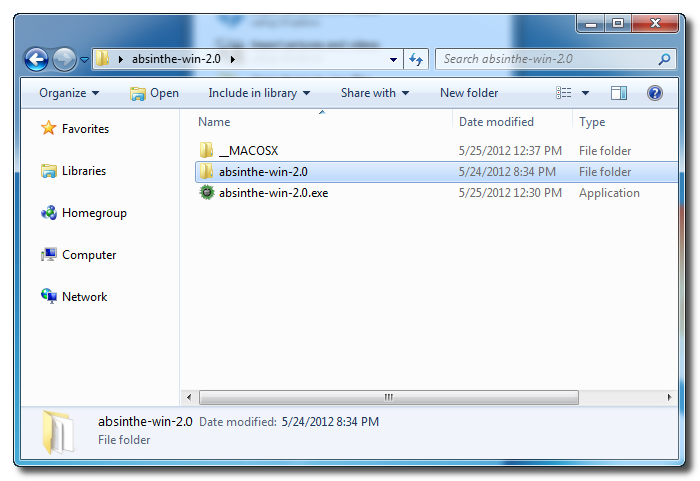
Step Three
Double click the absinthe-win-2.0.exe file from the folder that was just extracted.

This will create a new folder called absinthe-win-2.0.

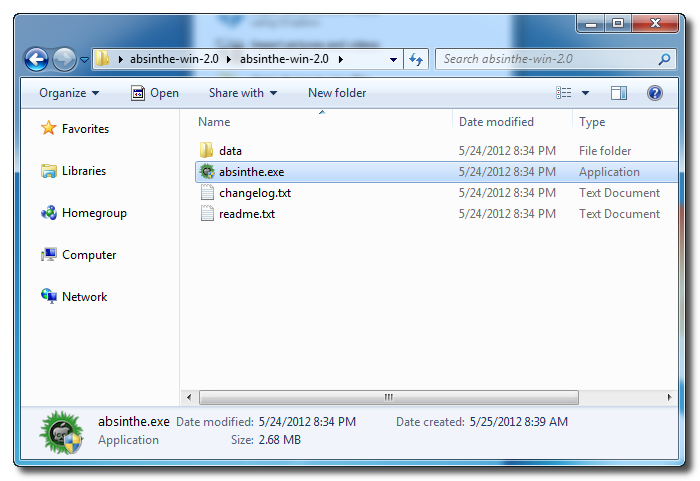
Open the newly created folder and launch absinthe.exe.

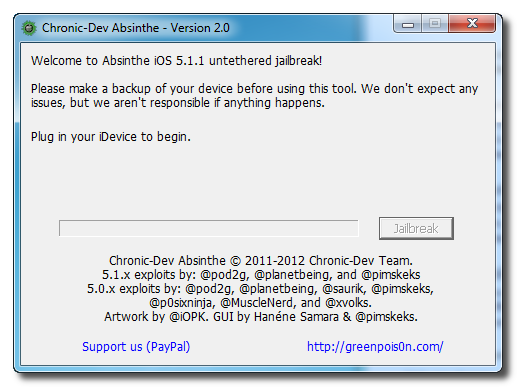
Step Three
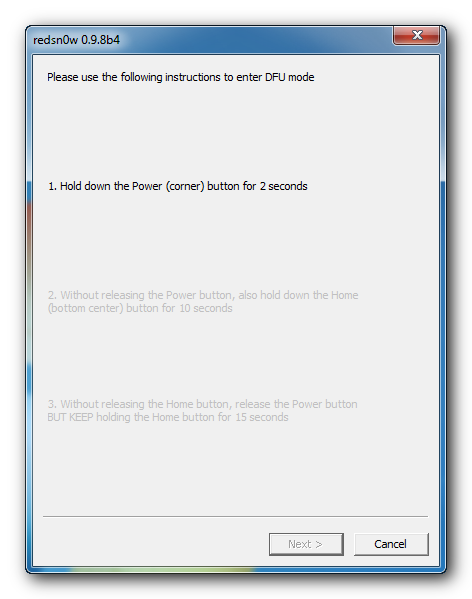
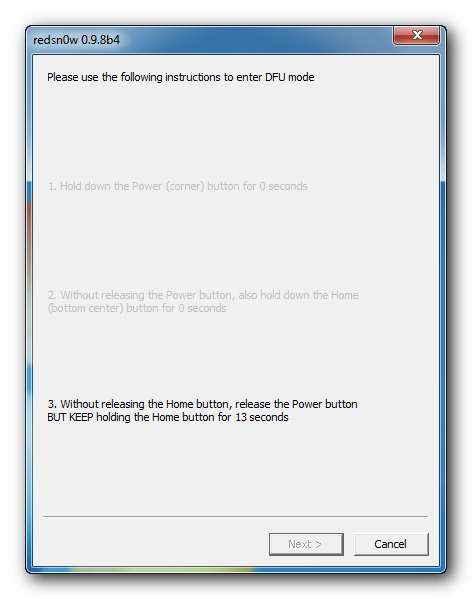
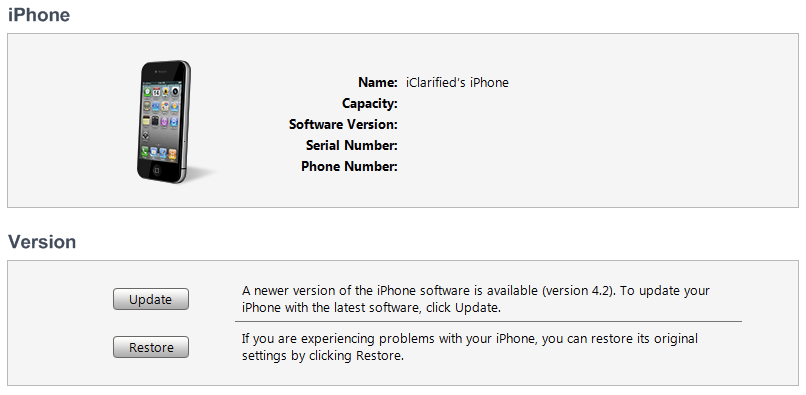
As prompted, connect your iPhone to the computer via USB. Make sure to remove any passcodes or VPN settings you've previously set.

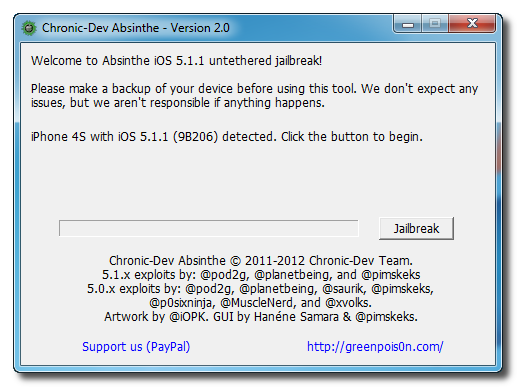
Step Four
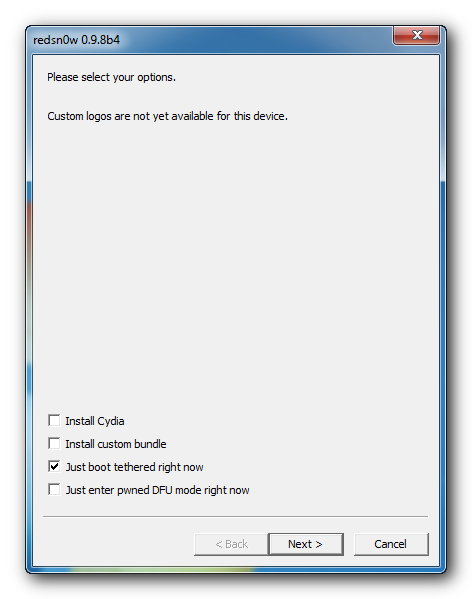
Click the Jailbreak button to begin

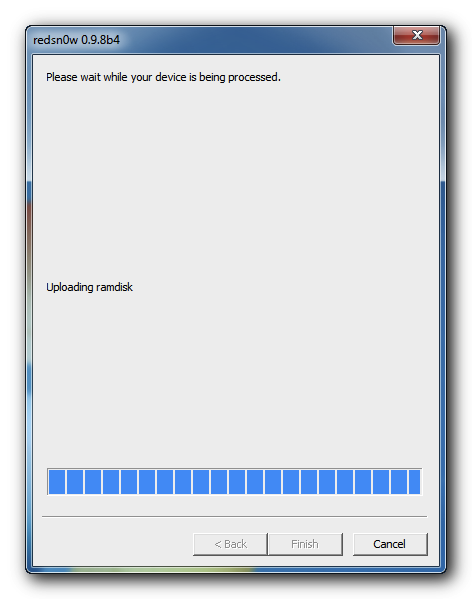
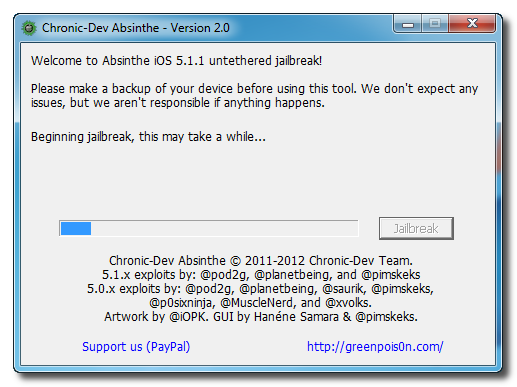
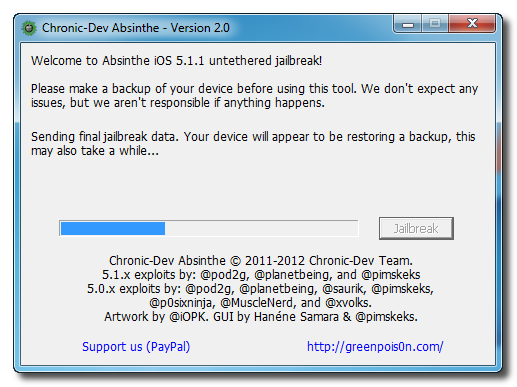
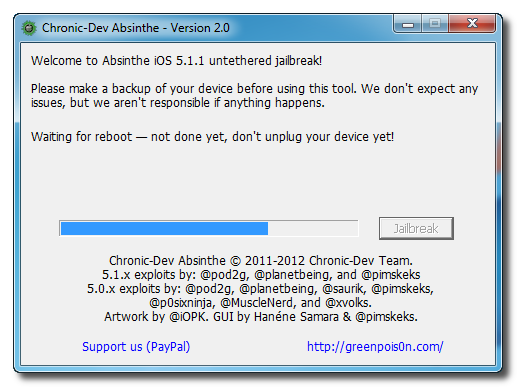
Step Five
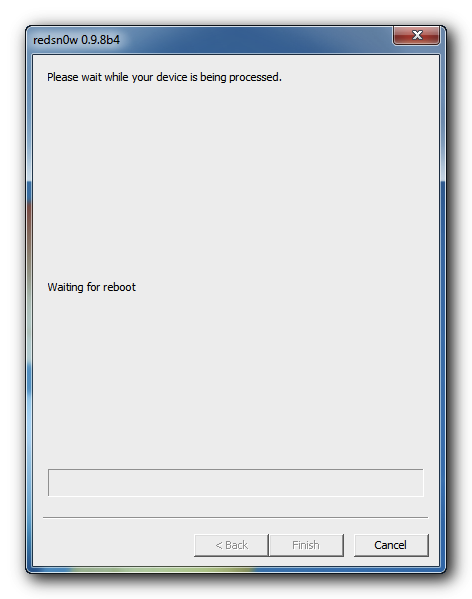
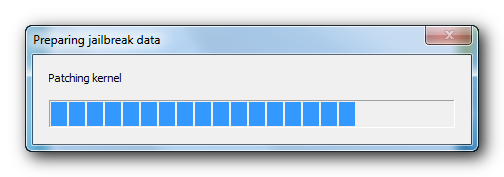
The application will take you through several steps to jailbreak including: beginning jailbreak, sending initial jailbreak data, sending final jailbreak data, waiting for reboot, and waiting for process to complete.


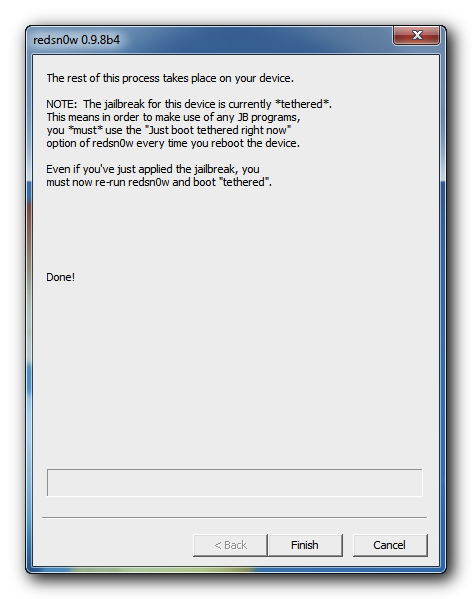
Step Six
You will be informed that the jailbreak is 'Done'.

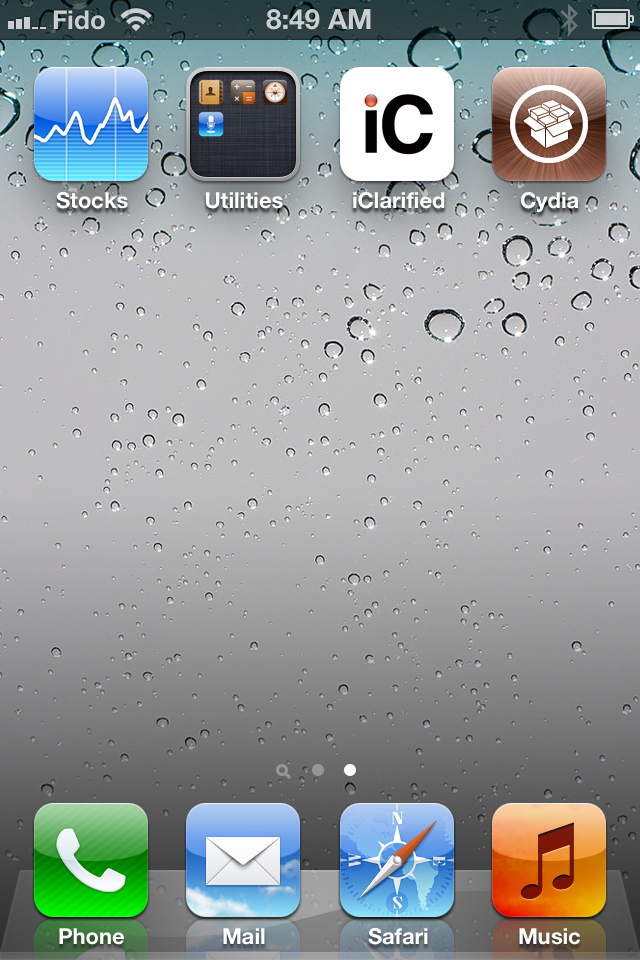
Step Seven
In a few moments you will notice Cydia appear on your Springboard!


***If you have any problems please retry the procedure on a device cleanly restored to iOS 5.1.1 (Remember to backup before restoring)***
Continue reading →
Download the latest version of Absinthe from here.
Step Two
Extract the downloaded archive.
Step Three
Double click the absinthe-win-2.0.exe file from the folder that was just extracted.
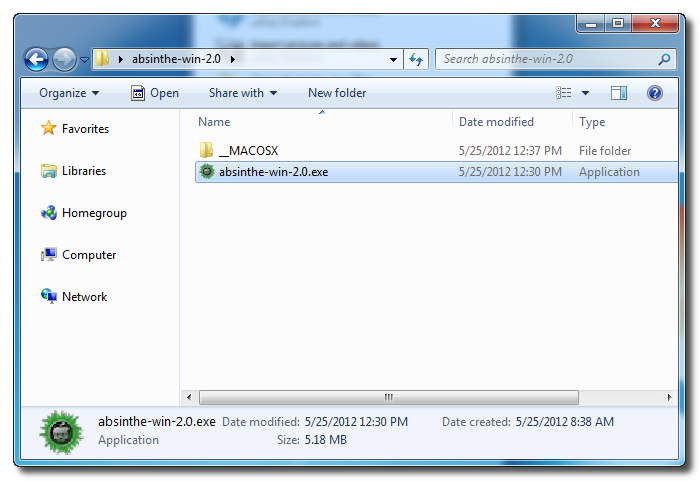
This will create a new folder called absinthe-win-2.0.
Open the newly created folder and launch absinthe.exe.
Step Three
As prompted, connect your iPhone to the computer via USB. Make sure to remove any passcodes or VPN settings you've previously set.
Step Four
Click the Jailbreak button to begin
Step Five
The application will take you through several steps to jailbreak including: beginning jailbreak, sending initial jailbreak data, sending final jailbreak data, waiting for reboot, and waiting for process to complete.
Step Six
You will be informed that the jailbreak is 'Done'.

Step Seven
In a few moments you will notice Cydia appear on your Springboard!

***If you have any problems please retry the procedure on a device cleanly restored to iOS 5.1.1 (Remember to backup before restoring)***